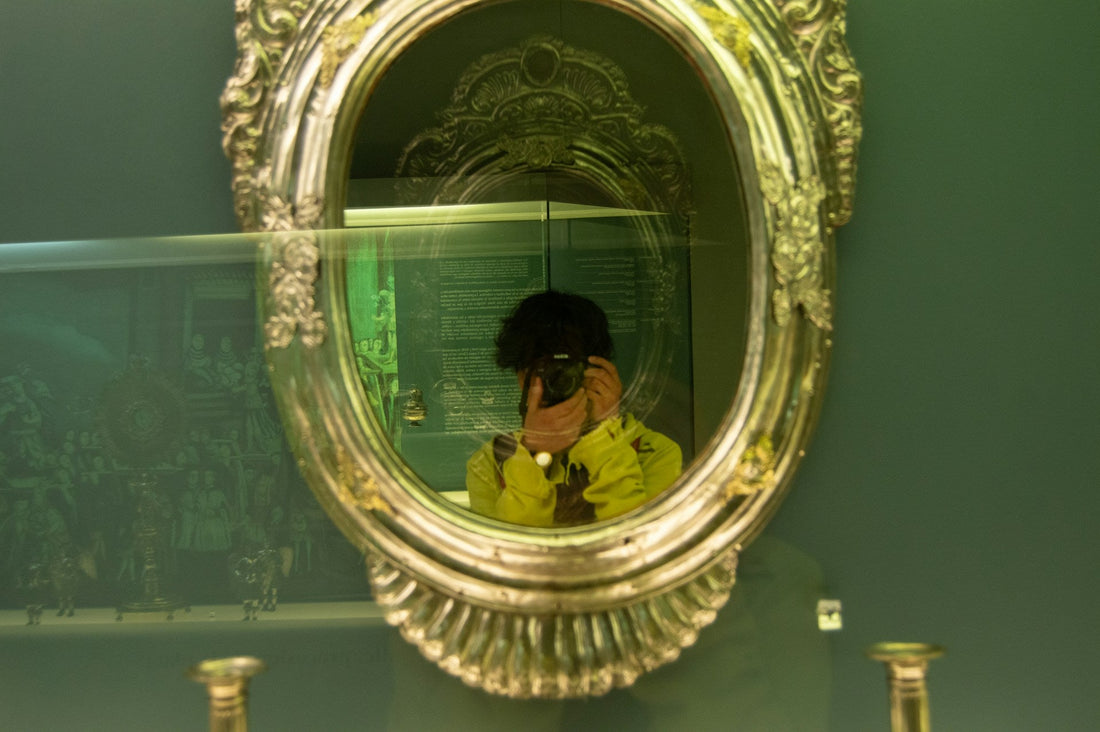
Framing an oval mirror upgrades the look and gives the piece presence. Whether you want sleek, modern, or classic, the frame does the heavy lifting.
Below are the right tools, safe adhesives, and simple method options to get it done cleanly.
How to frame an oval mirror?
Measure and trace a template, cut a matching oval frame with a rabbet, set the mirror with neutral-cure silicone and backing, secure with turn buttons, and hang using D-rings or a French cleat.
Key Takeaways
- A frame upgrades the style, protects edges, and makes hanging safer.
- Use neutral-cure silicone or mirror-safe adhesive near the silver backing.
- Template first, then cut a frame with a rabbet sized for the mirror plus backing.
- Allow 1/16 to 1/8 in reveal so the frame never pinches glass.
- Secure with turn buttons or brads and hang with D-rings and wire or a French cleat.
- For bathrooms, use sealed wood or powder-coated metal.
Why Frame an Oval Mirror?

Adds Style and Personality
An oval mirror looks good on its own, but a frame turns it into décor. Think of it like sneakers with fresh laces, same shoe, sharper finish. A well-chosen frame lifts the whole room.
Protects the Mirror Edges
Mirror edges are vulnerable to chips. A frame acts like armor, shielding the perimeter from bumps and hiding small edge flaws. It improves protection without adding bulk.
Matches Your Room’s Energy
An unframed mirror can feel out of place. Add a slim black frame in a modern loft or carved wood in a vintage bedroom, and it clicks. The frame helps the mirror sync with your style.
Boosts Value and Durability
A framed oval mirror looks pricier and is easier to mount. The frame adds rigidity, provides a proper rabbet and backing, and supports reliable hardware. It is an upgrade in both form and function.
Understanding Oval Mirrors
Shape and Style
Oval mirrors stand out because their curves soften a room’s look. Unlike sharp-edged rectangles, the oval shape feels fluid and balanced, which is why designers use them to add character without overwhelming a space.
The Framing Challenge
Curves make framing less straightforward. You need precise shaping so the frame sits flush and avoids point pressure on the glass. A paper template keeps the profile consistent.
Why Frames Matter
Many oval mirrors are plain glass with a beveled edge, which can read unfinished. A frame completes the design and makes hanging safer with a rabbet, backing board, and proper hardware. Use mirror-safe adhesive only if bonding to a backer.
Choosing the Right Frame Style
Traditional vs. Modern
Frame style sets the vibe. Carved wood leans classic, like a library piece. Slim metal feels modern and clean. Pick what matches your space so the mirror belongs.
Material Matters
Wood brings warmth and is easy to finish. Flexible polyurethane moulding bends around ovals for simpler DIY. Metal looks sleek, but curved metal frames are usually pre-formed, not a basic weekend build.
Color and Finish
Think beyond black or white. A brushed gold reads vintage, silver feels sleek, and matte black is crisp. Paint or distress wood if you want patina, just keep the color in harmony with the walls and furniture.
Matching Your Room’s Energy
The frame is part of the bigger picture. Use sealed wood or powder-coated metal in bathrooms for moisture resistance. Let style and practicality work together.
Don’t Overthink It
The frame should feel like a wingman. It does not need the spotlight. Its job is to make the mirror look intentional and pull the room together.
Tools and Materials You’ll Need
Basic Tools
Grab a tape measure, pencil, and square. Use a jigsaw with a fine-tooth blade, a coping saw, or a router with a template for the curve. Clamps and sandpaper help you dial in clean edges.
Frame Materials
Wood is the go-to since it cuts and finishes well. Flexible polyurethane moulding or laminated plywood rings make ovals much easier. Buy pre-made oval frames if you want a fast, clean result.
Hardware and Adhesives
Use mirror-safe adhesive or neutral-cure silicone for any bonding near the silver backing. Build a rabbet for the glass, add a backing board, then secure with turn buttons or brads. Hang with D-rings and wire or a French cleat.
Safety Gear
Wear safety glasses and cut-resistant gloves. A dust mask helps when routing or sanding curves. Protect the mirror with soft pads during test fits.
Measuring Your Oval Mirror
Getting Accurate Dimensions
Measure the widest horizontal and tallest vertical points, then trace a paper or cardboard template of the mirror. Allow a 1/16–1/8 in reveal so the frame never pinches the glass. Cut the rabbet deep enough for the mirror plus backing.
Avoiding Mistakes
Write measurements down, never round. Check symmetry across both axes and test-fit with the template before cutting the real pieces. Do not clamp directly on glass, and dry-fit the frame before finishing.
Frequently Asked Questions
1. Can I frame an oval mirror myself?
Yes. With the right tools and patience, DIY framing is totally doable. Just measure carefully and choose a frame style that matches your space.
2. What’s the easiest frame option?
Peel-and-stick kits are the quick fix. They snap on fast and give you a clean look without heavy tools.
3. Do frames protect the mirror?
Absolutely. Frames shield the edges from chips and make hanging easier. It’s style plus durability in one move.
Conclusion:
Framing an oval mirror is less about skill and more about patience and precision. Measure carefully, choose a frame that matches your space, and use tools that give you control instead of stress.
The right frame turns a plain piece of glass into a statement that feels intentional and sturdy. Whether you DIY with wood, experiment with resin, or buy a pre-made option, the goal stays the same: a mirror that reflects your style as much as your face.
Keep it simple, take your time, and the result will look like it belongs there.

