Introduction
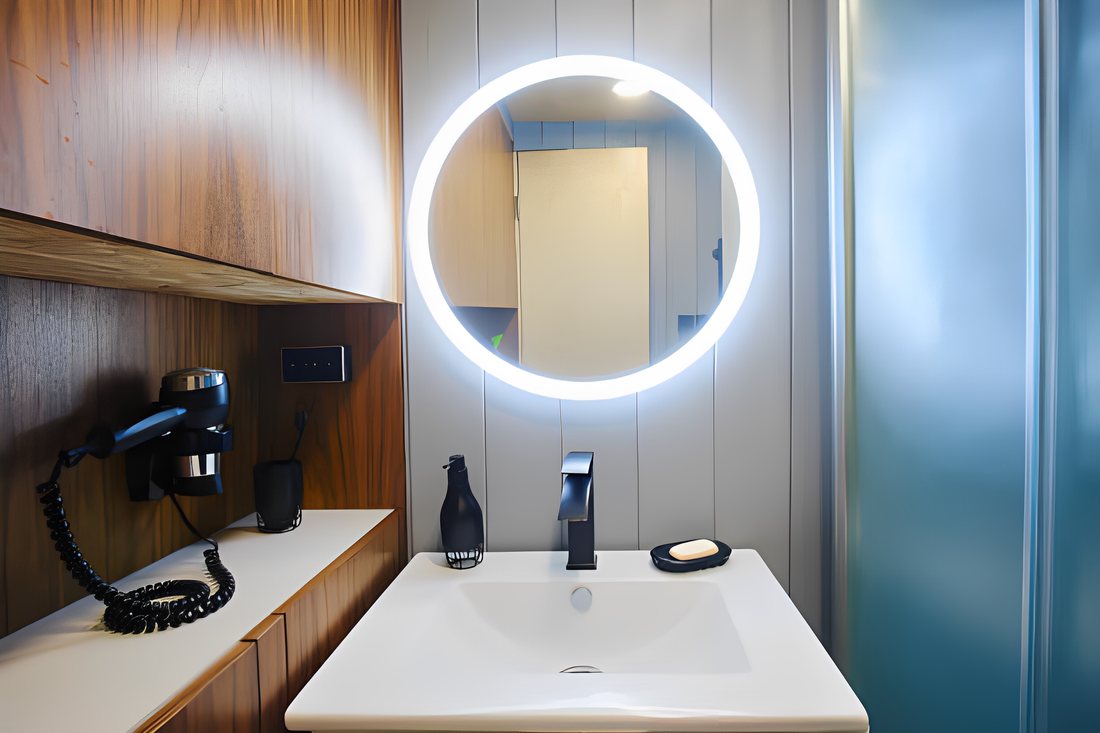
Creating a custom LED mirror is a fantastic way to combine personal style with functional elegance. At ledmirrorworld.com, we support the DIY spirit and offer various products that can help you build your own LED mirror from scratch. This comprehensive guide will walk you through each step of the process, helping you create a unique and stylish LED mirror.
Advantages of a Custom-Built LED Mirror
- Personalization: Building your own mirror allows you to tailor its size, shape, and features to your exact needs and preferences.
- Unique Style: You can create a mirror that perfectly matches your decor, adding a unique touch to your space.
- Cost-Effectiveness: Often, building your own LED mirror can be more cost-effective than purchasing a pre-made one.
Tools and Materials Needed
- A plain, unframed mirror: Choose the size and shape that fits your space.
- LED strip lights: Available in various colors and brightness levels at ledmirrorworld.com.
- Power supply and connectors: Ensure they are compatible with your LED strips.
- Basic tools: Including a screwdriver, wire cutter, soldering iron (if necessary), and adhesive tape.
- Optional: Frame materials, dimmer switch, motion sensor, or other custom features.
Planning Your LED Mirror Design
- Design Concept: Start by sketching your design, keeping in mind where the LED strips will go and whether you want to include extra features like a frame, smart controls, or even a sleek LED arched mirror to enhance the look.
- Measurement and Sizing: Measure the mirror and determine the length of LED strips needed. If you're working with an arch shaped bathroom mirror, be sure to account for the curved edges when planning the layout of the lights to ensure even illumination.
Step 1: Preparing the Mirror
- Clean the Mirror: Start with a clean surface. Ensure the mirror is free of dust and smudges.
- Mark the Layout: Lightly mark where the LED strips will be placed using a non-permanent marker or painter's tape.
Step 2: Attaching the LED Strips
- Cut the Strips: Cut the LED strips to the required lengths, being careful to cut only along the designated lines.
- Adhere the Strips: Attach the strips to the mirror using their adhesive backing or a suitable glue. Ensure they are straight and secure.
Step 3: Wiring and Power Connection
- Connect the Strips: If your design includes multiple strips, connect them using LED connectors or by soldering, if necessary.
- Attach to Power Source: Connect the strips to the power supply. Ensure all connections are secure and insulated.
Step 4: Adding a Frame (Optional)
- Frame Construction: If you’re adding a frame, construct it according to your design, ensuring it fits around the mirror securely.
- Attach the Frame: Fix the frame to the mirror. This could be done with adhesive, brackets, or screws, depending on the design.
Step 5: Installing Additional Features
- Dimmer Switch: For adjustable brightness, install a dimmer switch.
- Smart Controls: If you’re adding smart features, follow the manufacturer's instructions for installation and setup.
Step 6: Mounting Your LED Mirror
- Wall Preparation: Choose the wall and location for your mirror. Ensure the wall can support the mirror’s weight.
- Secure Mounting: Use appropriate brackets or mounting hardware to securely attach the mirror to the wall.
Safety Tips and Precautions
- Electrical Safety: Always prioritize electrical safety. If you’re unsure about the wiring, consult with or hire a professional electrician.
- Secure Installation: Ensure that the mirror and any additional components are securely installed to prevent accidents.
Maintenance and Care
- Cleaning: Use a soft, dry cloth to clean the mirror and LEDs. Avoid harsh chemicals that could damage the mirror or lights.
- Regular Inspections: Periodically check all components, especially the electrical connections, for any signs of wear or damage.
Overcoming Common DIY Challenges
Be prepared to troubleshoot issues like uneven lighting or connectivity problems. These can usually be resolved by adjusting the placement of the LEDs or checking the wiring connections.
Conclusion
Building your own LED mirror is a rewarding project that adds a personal and functional element to your space. At ledmirrorworld.com, we provide the components and guidance you need to bring your DIY LED mirror project to fruition.
Whether you're just starting out or a seasoned DIY enthusiast, our range of LED strips, connectors, and accessories makes it easy to build something beautiful. If you're aiming for a large backlit bathroom mirror, or just a backlit LED bathroom mirror, we’ve got everything you need to bring your vision to life. Stop by and start creating a mirror that elevates both style and function in your home.

